
Are you ready to unlock the world of 3D printing? Whether you’re dreaming of creating custom gadgets, detailed models, or even functional tools, 3D printing offers endless possibilities for creativity and innovation. But diving into this exciting hobby can feel overwhelming without the right guidance. From choosing the perfect printer to finding the ideal materials and mastering the software, this guide will walk you through every step of the process—ensuring that your first print is a success. Get ready to transform your ideas into tangible creations, as we help you navigate the essentials of 3D printing and set you up for an unforgettable hands-on experience!
1. Difference Between Resin and Filament Printers:
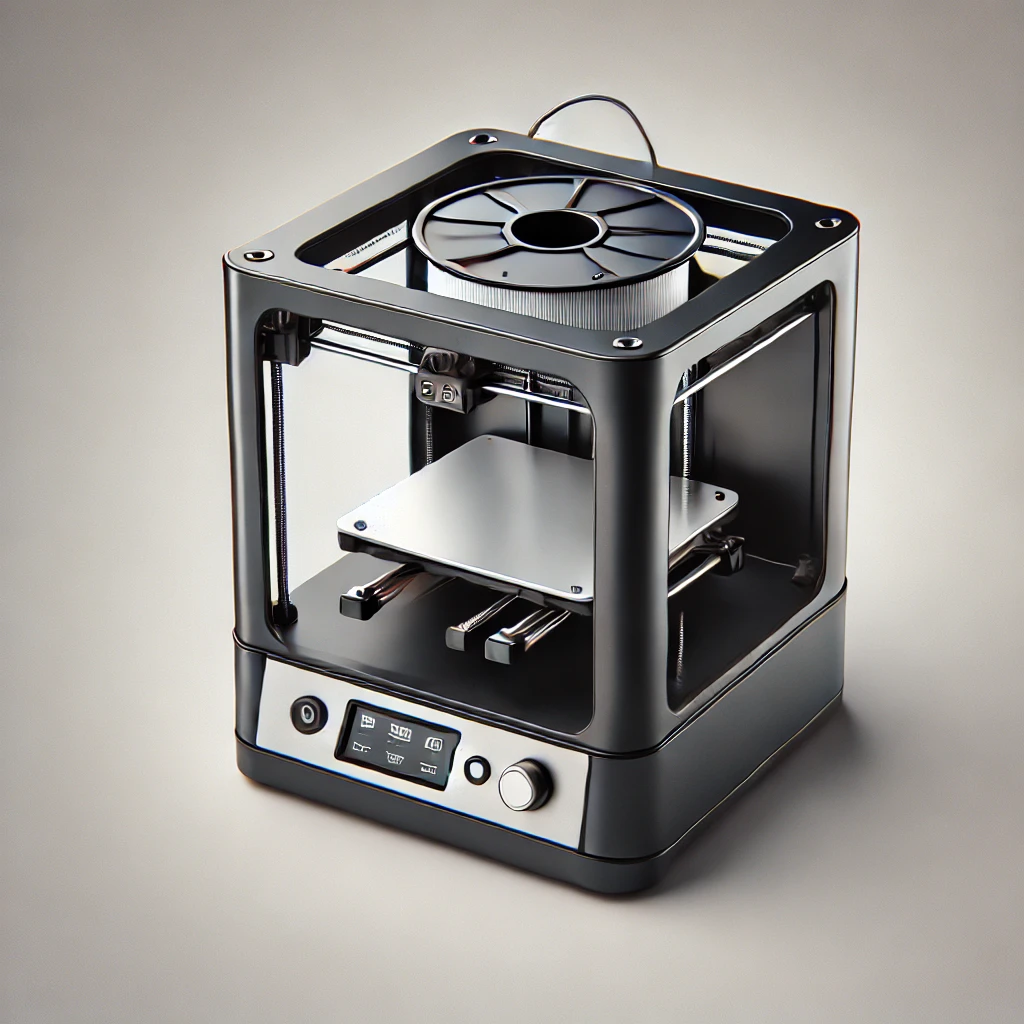
- Filament Printers (FDM): These are the most common types of 3D printers. They use a spool of plastic filament (such as PLA, ABS, PETG) which is heated and extruded layer by layer to create a model. FDM printers are great for beginners due to their simplicity and versatility.
- Pros: Lower cost, variety of filament options, larger print volumes, and easier to maintain.
- Cons: Can have visible layer lines on prints, may require more post-processing.
- Resin Printers (SLA/DLP): These printers use liquid resin cured by UV light to create prints. Resin printers tend to produce higher resolution prints with smoother surfaces, which makes them ideal for detailed models.
- Pros: Higher print quality, great for intricate details.
- Cons: Resin can be more expensive, printers usually have smaller build volumes, and handling resin requires extra care due to its toxicity and messiness.
2. What You’ll Need to Start:
- 3D Printer: Choose between FDM or resin depending on your needs.
- Computer: A computer (PC or laptop) to run 3D design software and prepare files for printing.
- Filament/Resin: Choose the material based on the type of printer. Common filaments include PLA, PETG, ABS, and TPU. For resin printers, you’ll need compatible resin.
- Software:
- For FDM printers, you’ll need slicing software (e.g., Cura, PrusaSlicer, Simplify3D). These convert 3D models into instructions for the printer.
- For resin printers, software like ChiTuBox or Lychee Slicer is often used.
- USB/SD Card: Many printers use an SD card or USB stick to load your print files into the machine.
- Build Surface: A heated bed for FDM printers or a resin tank for SLA printers.
- Adhesive: Some FDM printers benefit from adhesive sprays, glue sticks, or a textured bed for better adhesion.
- Post-Processing Equipment:
- For FDM: A scraper or spatula to remove prints from the build surface.
- For resin: Isopropyl alcohol for cleaning prints, gloves, and safety glasses for handling resin, a UV curing station to cure resin prints after they’re done, and a container for cleaning.
- Tools: Tweezers, pliers, and cutters for finishing touches, as well as sandpaper for smoothing prints.
3. How to Set Up Your 3D Printer:
- Unbox and Assemble: Follow the printer’s manual carefully for assembly. Some FDM printers come pre-assembled, while others may require you to assemble parts like the bed and extruder.
- Level the Bed: For FDM printers, ensuring the print bed is level is crucial. Follow the instructions for your printer model to manually or automatically level the bed.
- Load the Filament: Insert the filament into the printer’s extruder. Make sure it’s loaded correctly and that the filament feeds smoothly.
- Set Printer Settings: In your slicing software, select the correct settings for your material (filament or resin) and the object you want to print (layer height, print speed, infill, etc.).
- Start Printing: Once you’ve set up your printer and sliced your model, you’re ready to begin printing. Load the sliced file onto your printer via SD card or USB stick, and hit “Start”!
4. Where to Find Files to Print:
- Thingiverse: One of the largest and most popular repositories for 3D printable models. You can find everything from simple objects to complex designs.
- MyMiniFactory: Offers a curated selection of 3D models, including many that are tested and printable.
- Pinshape: Another great resource for free and paid 3D models.
- Cults: A platform for both free and paid 3D models with unique designs.
- YouMagine: A community-driven 3D model repository.
- STL Finder: A search engine that aggregates 3D printable files from multiple sources.
5. First Print Tips:
- Start Small: Begin with smaller, simple objects to test your printer’s settings before attempting large or intricate prints.
- Monitor the First Layer: The first layer is crucial for adhesion. Watch your print and make sure it adheres well to the bed.
- Check for Warping: If your print has warping or lifting edges, it may be due to incorrect bed temperature, not enough adhesion, or poor calibration. Try using a heated bed or adhesion aids like glue sticks or painter’s tape.
- Be Patient: 3D printing can take hours depending on the size and complexity of the model. Let the process unfold!
6. After Your First Print:
- Post-Processing: Clean up your print by removing any support material. Sand or file rough edges if needed.
- Experiment with Settings: Once you’re comfortable with your printer, experiment with different settings (layer height, print speed, infill density) to optimize quality and speed for different types of prints.
- Calibration: Regularly calibrate your printer for consistent results.
- Maintain Your Printer: Regularly clean your printer’s nozzle, lubricate moving parts, and ensure the bed is level for optimal performance.
- Learn from Mistakes: Not every print will come out perfectly. Take notes on what went wrong and adjust accordingly for future prints.
7. Additional Tips:
- Join the Community: There are many online forums and Facebook groups dedicated to 3D printing. Joining these communities can help you learn from others’ experiences and ask for advice when you face challenges.
- Safety: Always work in a well-ventilated area, especially with resin printers. Wear gloves and goggles when handling resin.
- Software Upgrades: Keep your slicing software up to date for new features and bug fixes.
- Print Recovery: If your print fails, don’t worry! Sometimes you can salvage parts or learn how to improve your print for next time.
- Try Different Materials: Experiment with different filament types like flexible TPU, or even specialty filaments like glow-in-the-dark or wood filament for creative projects.
Starting your 3D printing journey is just the beginning of a thrilling adventure where your imagination can truly take shape. With each print, you’ll gain more confidence, refine your skills, and discover the endless creative potential that 3D printing offers. Whether you’re crafting something functional, artistic, or just for fun, the possibilities are boundless. So don’t worry about the learning curve—every mistake is an opportunity to grow, and every successful print will leave you feeling accomplished. Embrace the process, stay curious, and enjoy the satisfaction of bringing your ideas to life, one layer at a time. Happy printing!